How to Play Barre Chords for Beginners?
Published · Updated
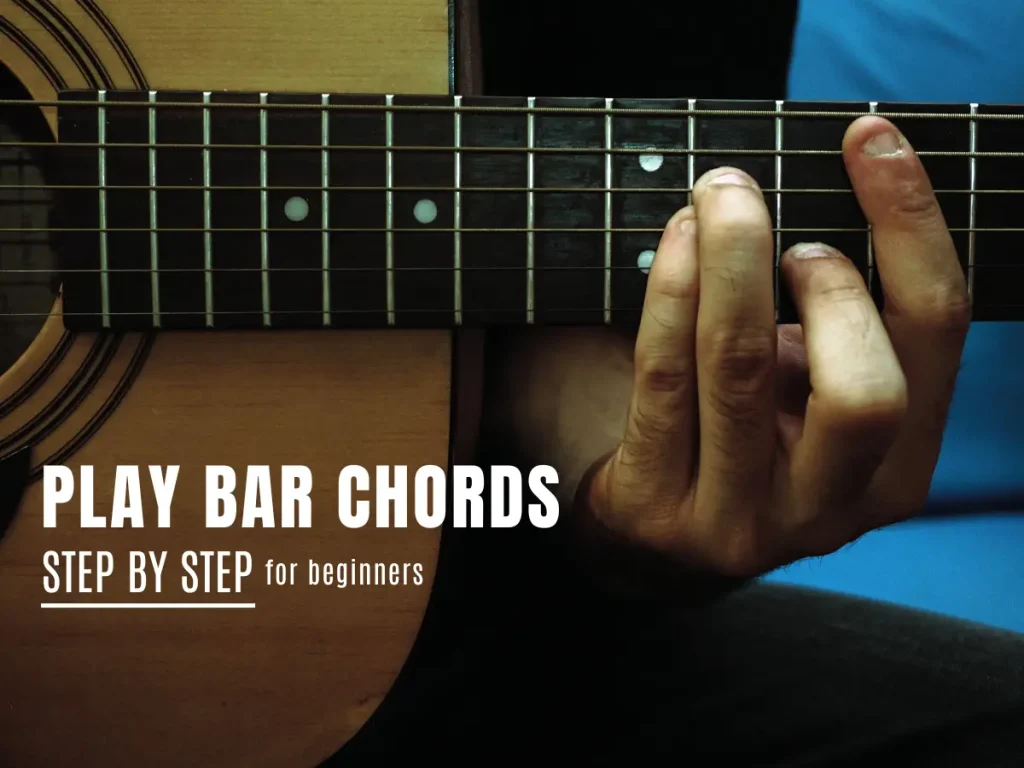
Learning guitar is exciting, but barre chords can feel tough at first. Buzzing strings, sore fingers, and messy sounds are totally normal for beginners. Don’t worry, you’re not alone. In this step-by-step guide, I will show you an easy way to play barre chords so you can practice with confidence and start mastering them faster.
After watching this, you can play any barre chords with proper knowledge that helps you to boost your confidence.

Note: Many beginners try to skip them but the truth is “Barre chords are the backbone of guitar.”
“Master them and you can play any song without a capo.”
Understanding Barre chords
Before starting, let’s understand what a barre chord actually is?
- A barre chord uses one finger (usually the index) to press down multiple strings across the fretboard which works like a movable “capo.”
- Unlike open chords, barre chords let you play chords anywhere on the neck.
- Once you learn the basic shape, you can move it up and down to play different chords.
Step-by-Step: How to Play Barre Chords
Here are the complete steps to play barre chords for beginners:
1. Warm Up Your Fingers

Before trying barre chords, loosen your hands:
- Do simple finger stretching exercises.
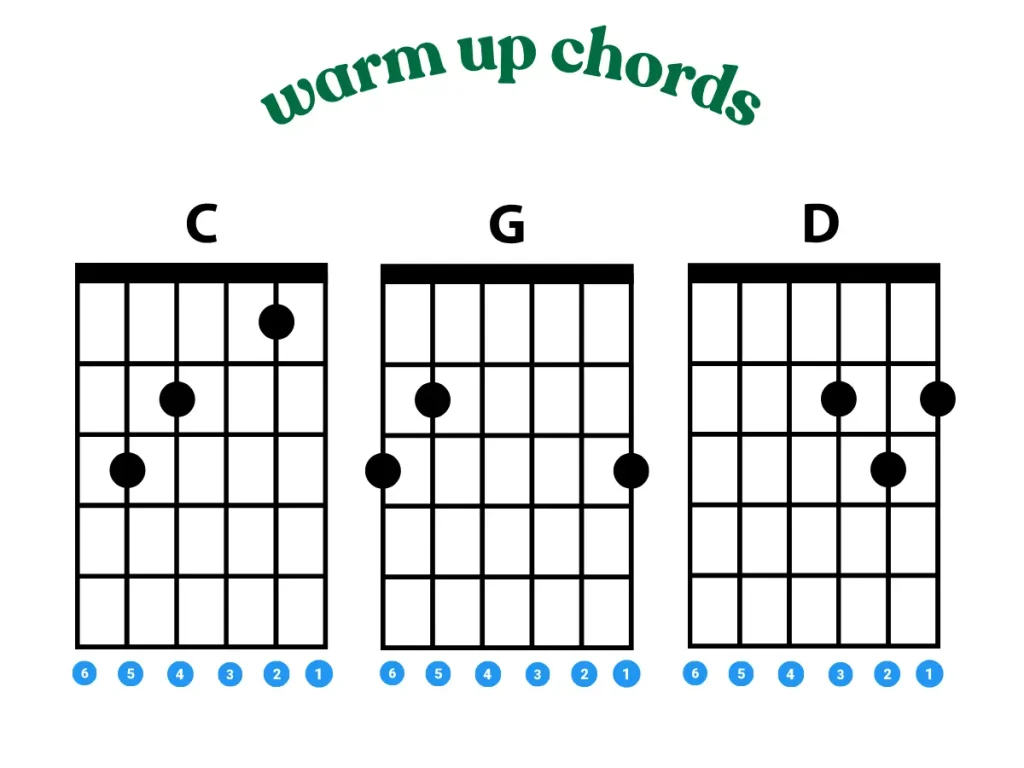
- Play a few open chords (like C, G, and D).
- Roll your wrists gently to avoid tension.
Watch above image if you get confused.
2. Start with F Chord (Beginner Friendly)
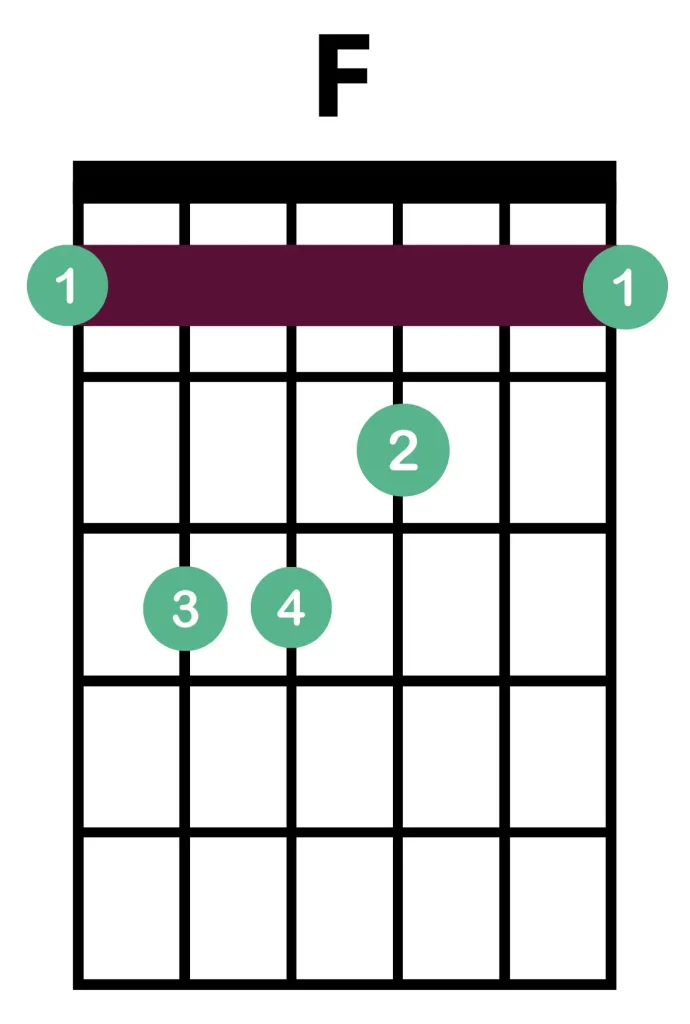
The F major chord is the classic beginner barre chord. Place your fingers like this:
Index finger: Press down all six strings at the 1st fret.
Middle finger: 2nd fret of the G string.
Ring finger: 3rd fret of the A string.
Pinky finger: 3rd fret of the D string.
Tip: Don’t press too hard at first. Use the edge of your index finger, not the flat part.

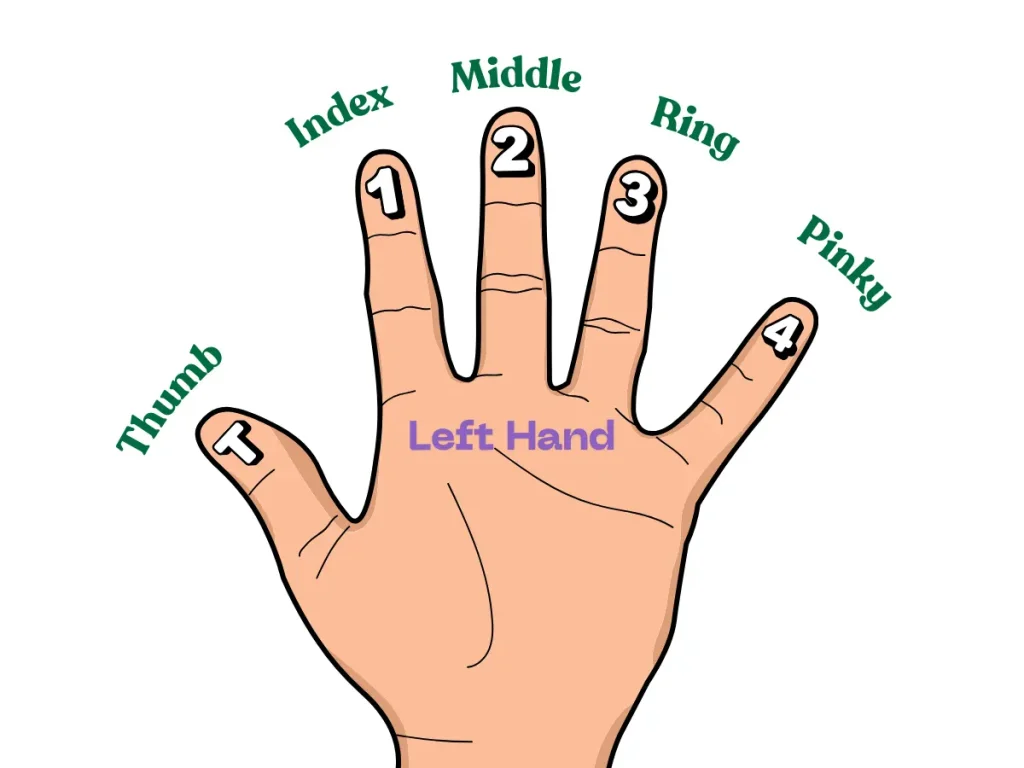
Watch the diagram below if you get confused about finger names and numbers on the guitar.

3. Focus on Proper Hand Position
Keep your thumb behind the neck of Guitar (not over it).
Squeeze gently between your thumb and index finger.
Keep your wrist slightly bent outward.

4. Test Each String
Strum slowly and check if every string rings clearly or not.
If a string sounds muted or buzzed, adjust your finger pressure with correct position.
Small shifts in finger angle can make a big difference.
5. Slide the F Chord Up the Neck to Play New Chords
After practicing the F chord, you can turn it into a movable shape and find new chords:
Remember that the F chord starts with 1st fret (with index finger).
Now, Move the index finger/slide the whole F major chord on 3rd fret, which becomes G major chord.
- Apply same thing further to find new chords.
1st fret = F major
3rd fret = G major
5th fret = A major
- For beginners, these 3 chords is enough to build the foundation, after that you can practice these remaining chords.
6th fret = A# / Bb major
8th fret = C major
10th fret = D major
12th fret = E major
6. Practice Daily - Build muscle memory
Barre chords can be tough and painful at first, so don’t try to play them for hours straight.
Follow listed points:
Keep practice short: 25–30 minutes per day is enough for building strength and foundation.
Focus on technique: Make sure each string rings clearly before moving on.
Stretch your fingers: Do simple hand and finger stretches before and after practice to avoid soreness.
Be Consistent & Stay patient: Practice a little every day. Your hand strength and flexibility will improve naturally over time.
Pro tip: Even 5 minutes of focused barre chord practice daily is more effective than 1 hour of distracted practice.
Why Barre Chords Are Worth It?
At first, barre chords may feel impossible & frustrating, but once you complete the beginner stage:
You will be able to play almost any song without relying on a capo.
You will be able to play any major and minor chord anywhere on the fretboard.
Able to play Smooth Chord Transitions: barre chords make switching between chords faster and cleaner.